The Zynq Book - Exercise 1A-C
The exercises assume that you have already completed Exercise 1A and
created an empty Vivado Project ("RTL Project") called
"first_zynq_design." Once you reach the part selection porton of design
creation, select "Boards" rather than "Parts" and select the ZYBO. (The board definition
file is used later in the exercise to allow automatic conneciton of
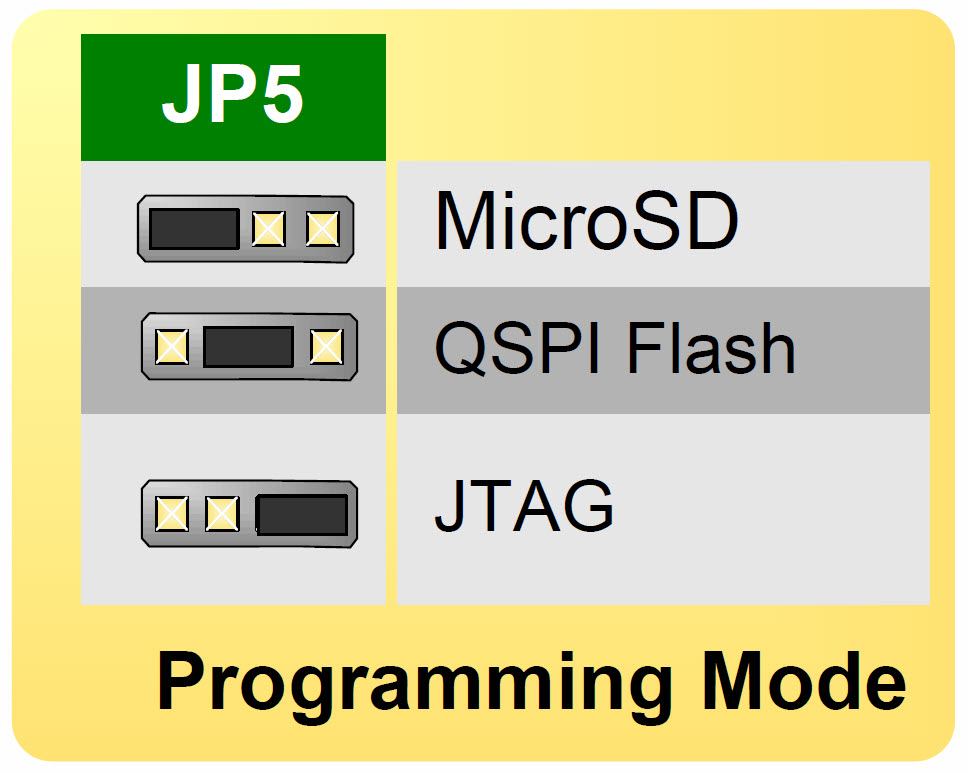
board resources.) If you are using the ZYBO, make sure jumper JP5 (the
Programming Mode jumper) is set to "JTAG" (see section 3 of the RM).
The only big variation I noticed when stepping methodically
through the tutorial had to do with the launching of the SDK. The
dialog box in Figure 1.21 has changed under our version of Vivado and
there is no "Launch SDK" radio button. Instead, after you have
successfully exported the hardware to the SDK select "File > Launch
SDK" from the menu at the top of the window.
Update
(Mar2018): When we updated Vivado and the SDK to 2016.4 the Gnu
Debugger option (GDB) in the SDK stopped working correctly. Subsequent
investigation reveals that GDB is being deprecated. As a result,
students should instead use "Run As > Launch on Hardware (System Debugger) for Step (k) or Exercise 1C. (p. 33)
Enjoy!
Dr. J
P.S. More Gotchas (see April Blog entries for more)